
This is a post I wrote a while ago and never posted... It's for my sister Dani who is always asking for tutorials on stuff I've made. Here you go!


As you go along, you'll notice that the part of the blanket you've already sewn is all over the place and in your way. Roll it up like so:

and keep rolling as more fabric is stitched. When you reach the edge of your blanket, you'll notice that only half of it is done. (hopefully you've noticed it before now!) Just turn the blanket upside down and repeat what you've already done with the first half. When you're done, it'll look like this: a nice pin stripe!

Flip the blanket over so that the flannel is facing up. You can either use a special chenille cutter or a pair of scissors . I really prefer the chenille cutter, as there is no way you could accidentally cut your top layer and it cuts the fabric evenly, so the chenille is the same length all over. You can pick up one of these tools at any fabric store for about $15. (this would be a great item to use a coupon on!) The plastic guide (or bottom side of your scissors) goes in between your top layer(s) and the fabric you want to make into Chenille. Slide it all the way through the channel in between your lines of stitching. Repeat until you've cut the whole blanket.

This is what your blanket should now look like:


Square up your blanket by checking the edges and trimming them so they are all even every layer goes all the way to the edge. (note: "squaring" a quilt does not mean you have to make it an actual square! Just that you make sure all of the sides are straight and clean ;) )
If you want rounded corners and you:
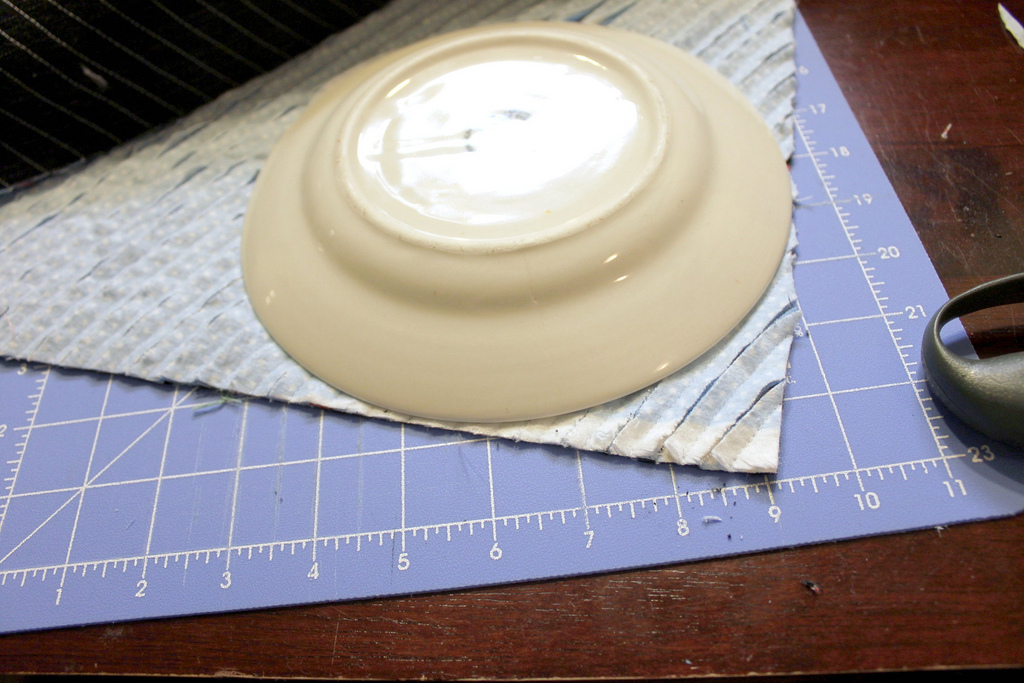
a.) are willing to cut your binding on the bias, or b.) will buy bias cut binding to use; then garb a small salad plate (or something else around this size) and trim around it with your rotary cutter. (you could also trace the plate with a pen and cut it with scissors. Just make sure you cut INSIDE your markings so that you don't chance an ink bleed when you wash it)
Here comes the fun part, making it bloom! Stick it in the washer, (by itself, because it's going to shed like crazy!) then put it through the dryer twice, cleaning the lint trap in between cycles. When you pull it out, it should look like this! So cozy, no?


Next cut or purchase your binding and finish those edges! (Here is a great binding tutorial. Note that because you are using rounded corners and bias cut binding you don't need to worry about mitered corners, which makes it a ton easier!)


3 comments:
So cute! I may have to give this one a try.
Oh man that is so much work! Way to go - super cute
more more more! i can't wait to try this it is so cute!
Post a Comment